@fabiosun and @SavageAUS:X570 Aorus Pro Wifi Bios F34 BigSur + Monterey B4 Clover EFI
alpha
Kawaiintu (neo Moebuntu)(旧Hackintosh夢日記)
8,000円でMBP13,1相当で、i3だけどヌルヌル動く。これは使えます!
It costs 8,000 yen and is equivalent to MBP13,1. It’s i3, but it works without slowness. This can be used,can’t this?
Big Surでの互換性がいまいちなら、そのまま外付けSSDにBig Surを入れておいて、遊ぶつもりでした。しかし、驚いたことに、バッテリー、トラックパッド、WiFi,Bluetooth、スリープまで快調なので、本格的にサブノートとして使うことを考えました。
If the compatibility with Big Sur wasn’t good enough, I was going to put Big Sur in the external SSD and play with it. However, to my surprise, the battery, trackpad, WiFi, Bluetooth, and sleep are set to all in good condition, so I decided to use it as a sub-laptop PC in earnest.
しかし、Windowsは実務的・実験検証的に使うので、なくしたくありませんでした。そこで、内部SSD1台のみに、パーティションを切ってデュアルブート環境を作りました。
But I’m using Windows for practical and experimental validation, so I didn’t want to lose it. Therefore, I created a dual boot environment by partitioning inside only one internal SSD.
まず、内部SSDを交換します。
First, replace the internal SSD.
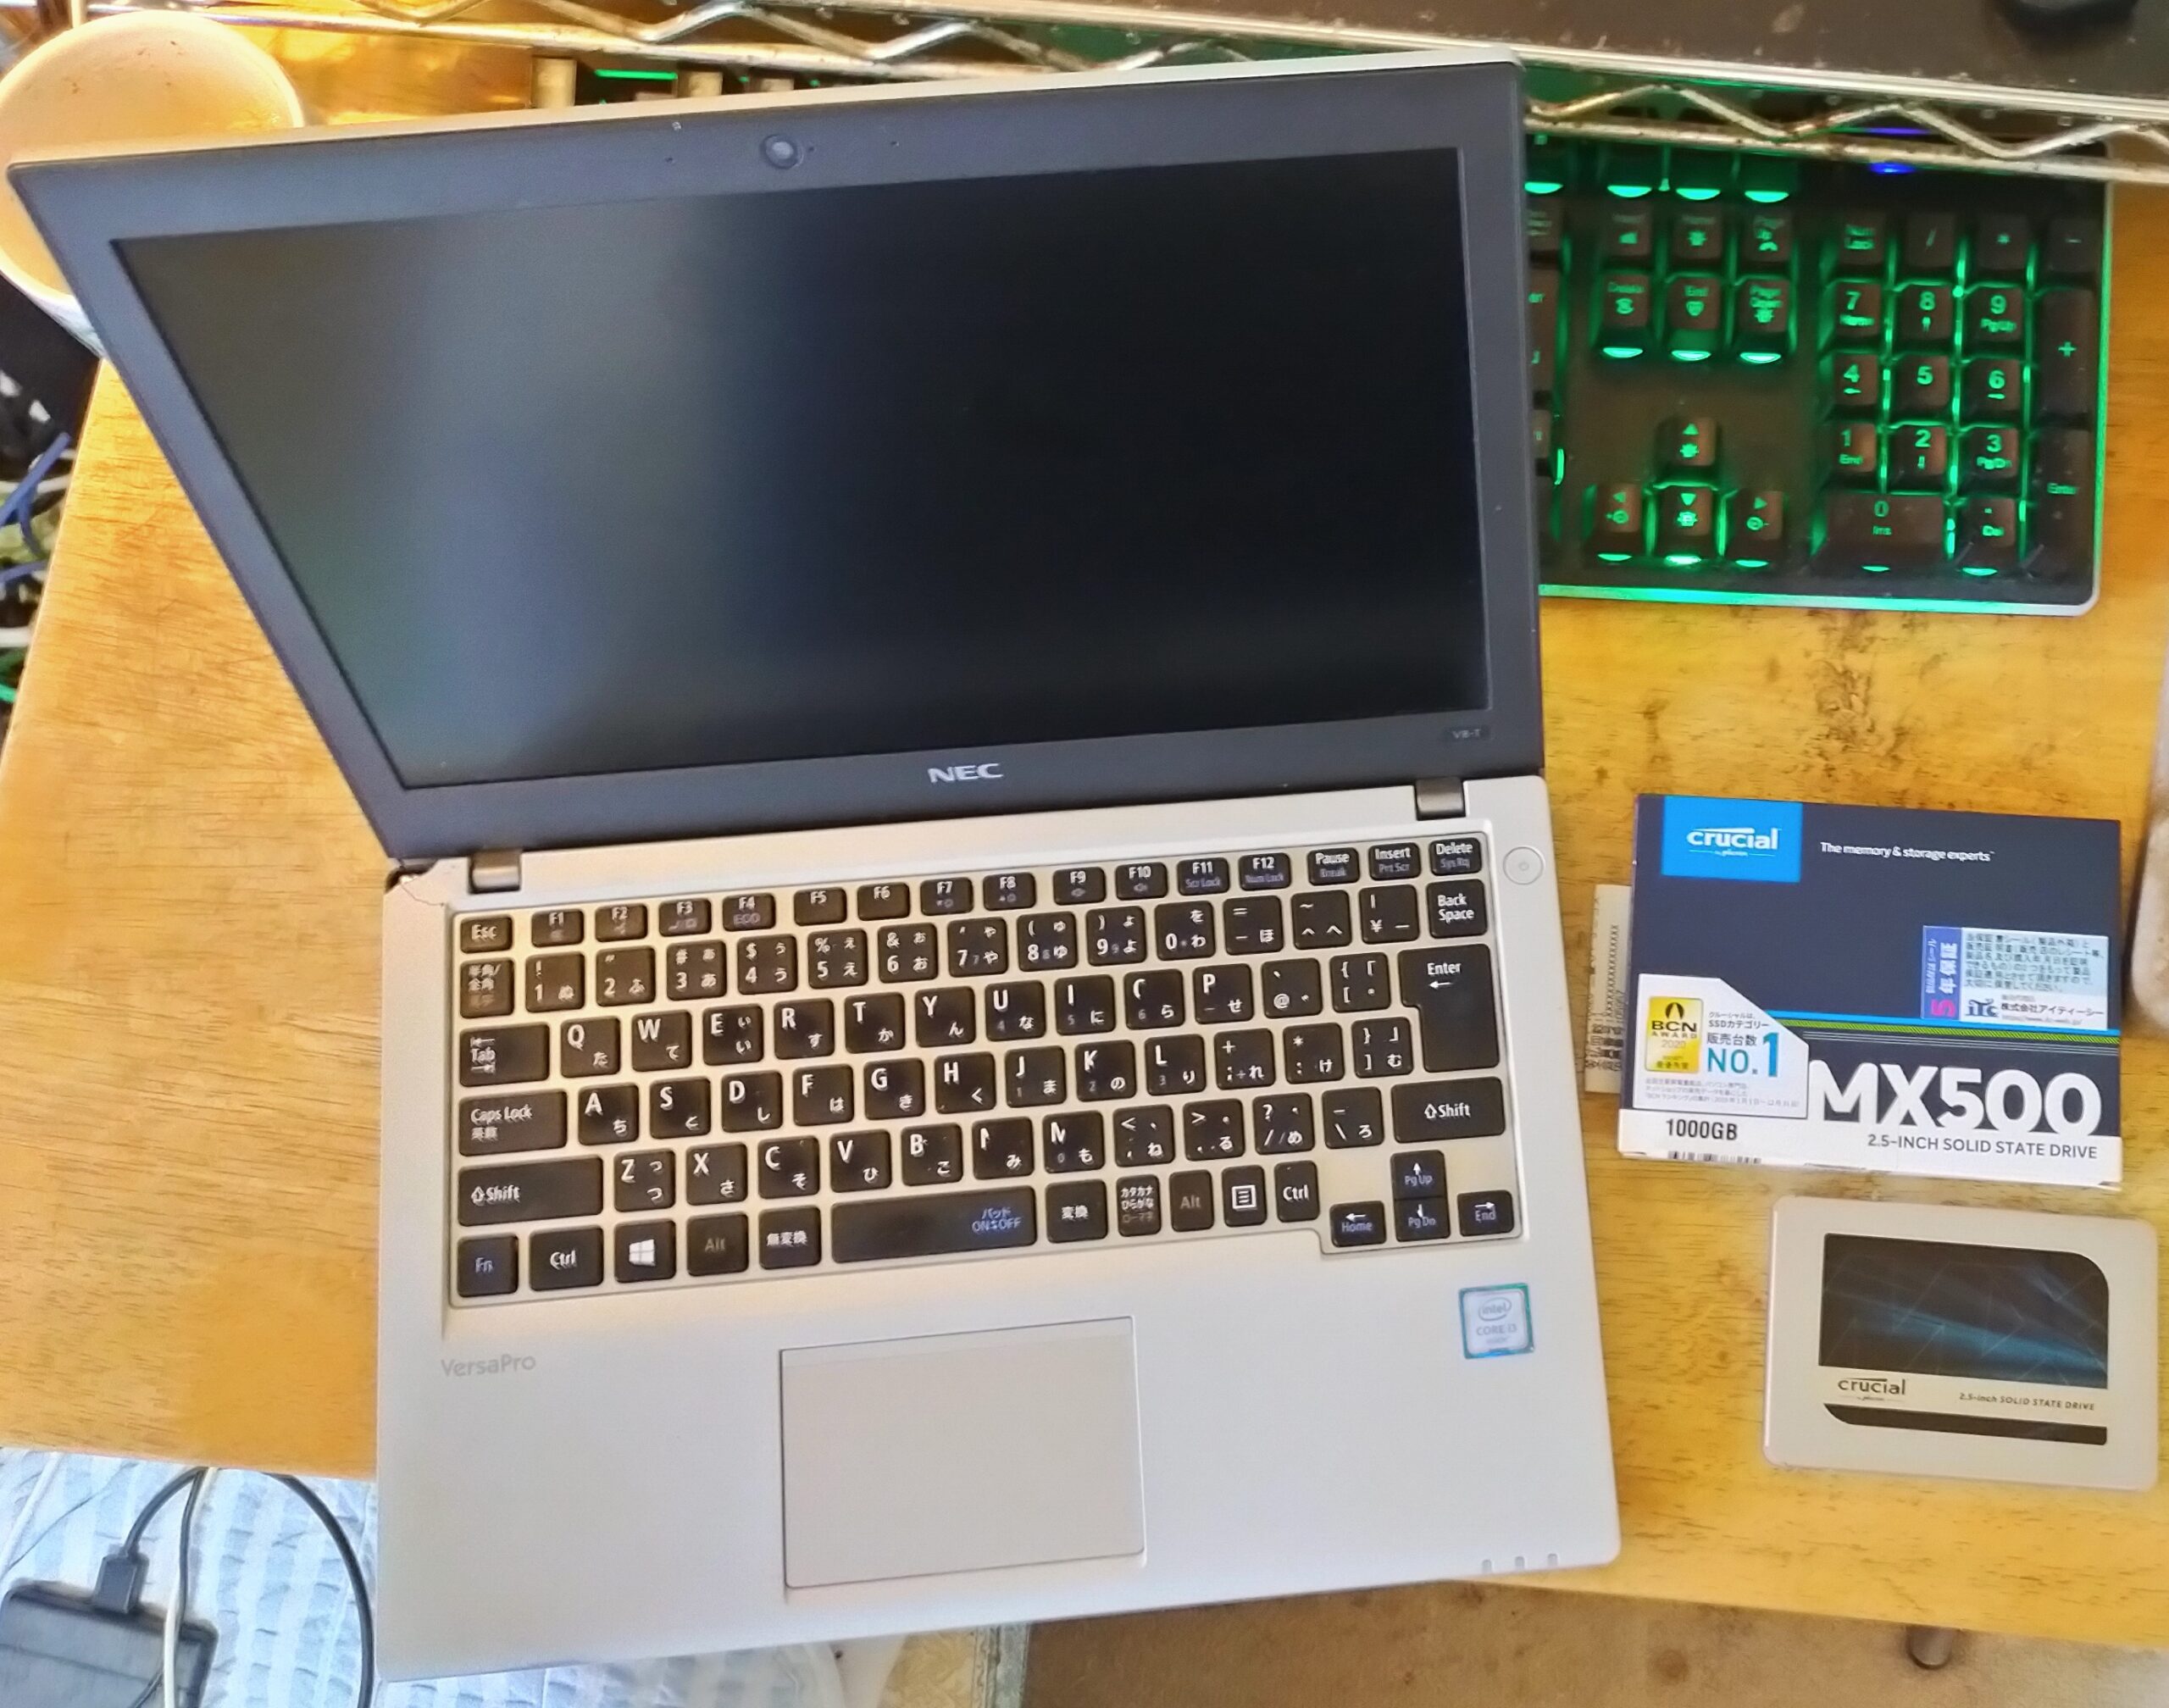
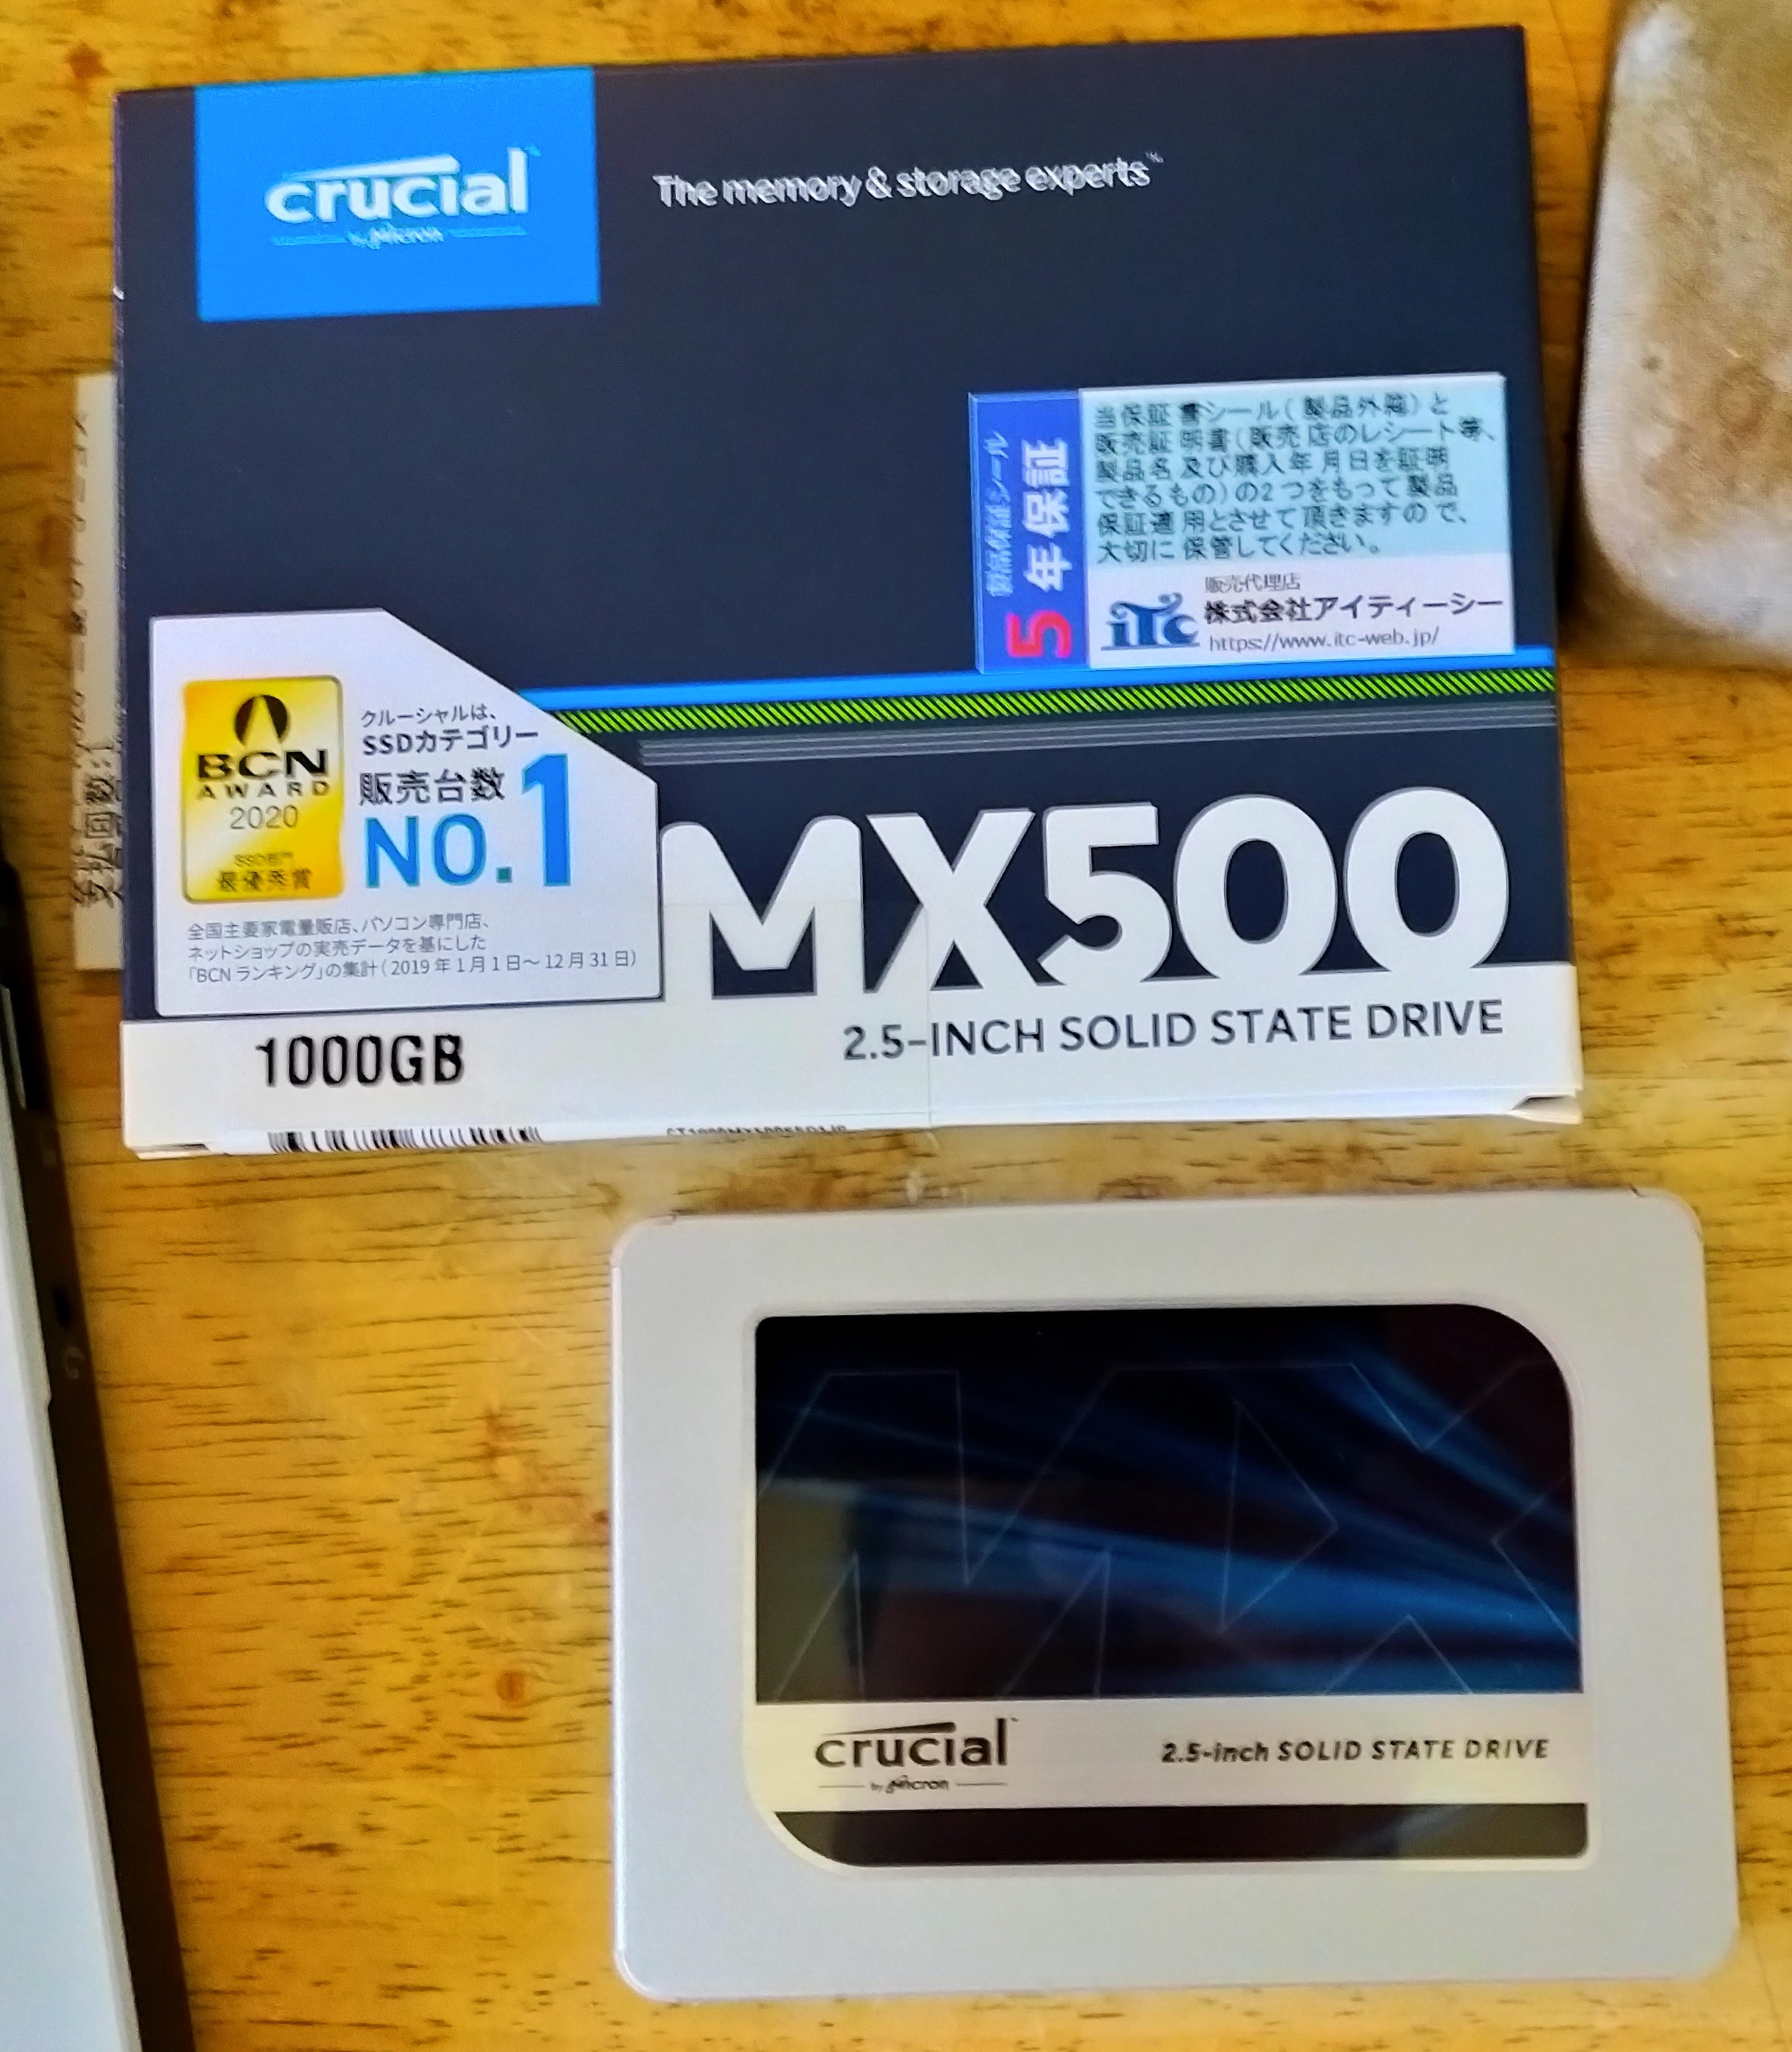
SSDはCrucialの1TBにしました。1万円($100)程度です。(本体より価格が高い(笑う))
SSD is 1TB of Crucial. It is about 10,000 yen ($ 100). (Price is higher than this Laptop (laughs))
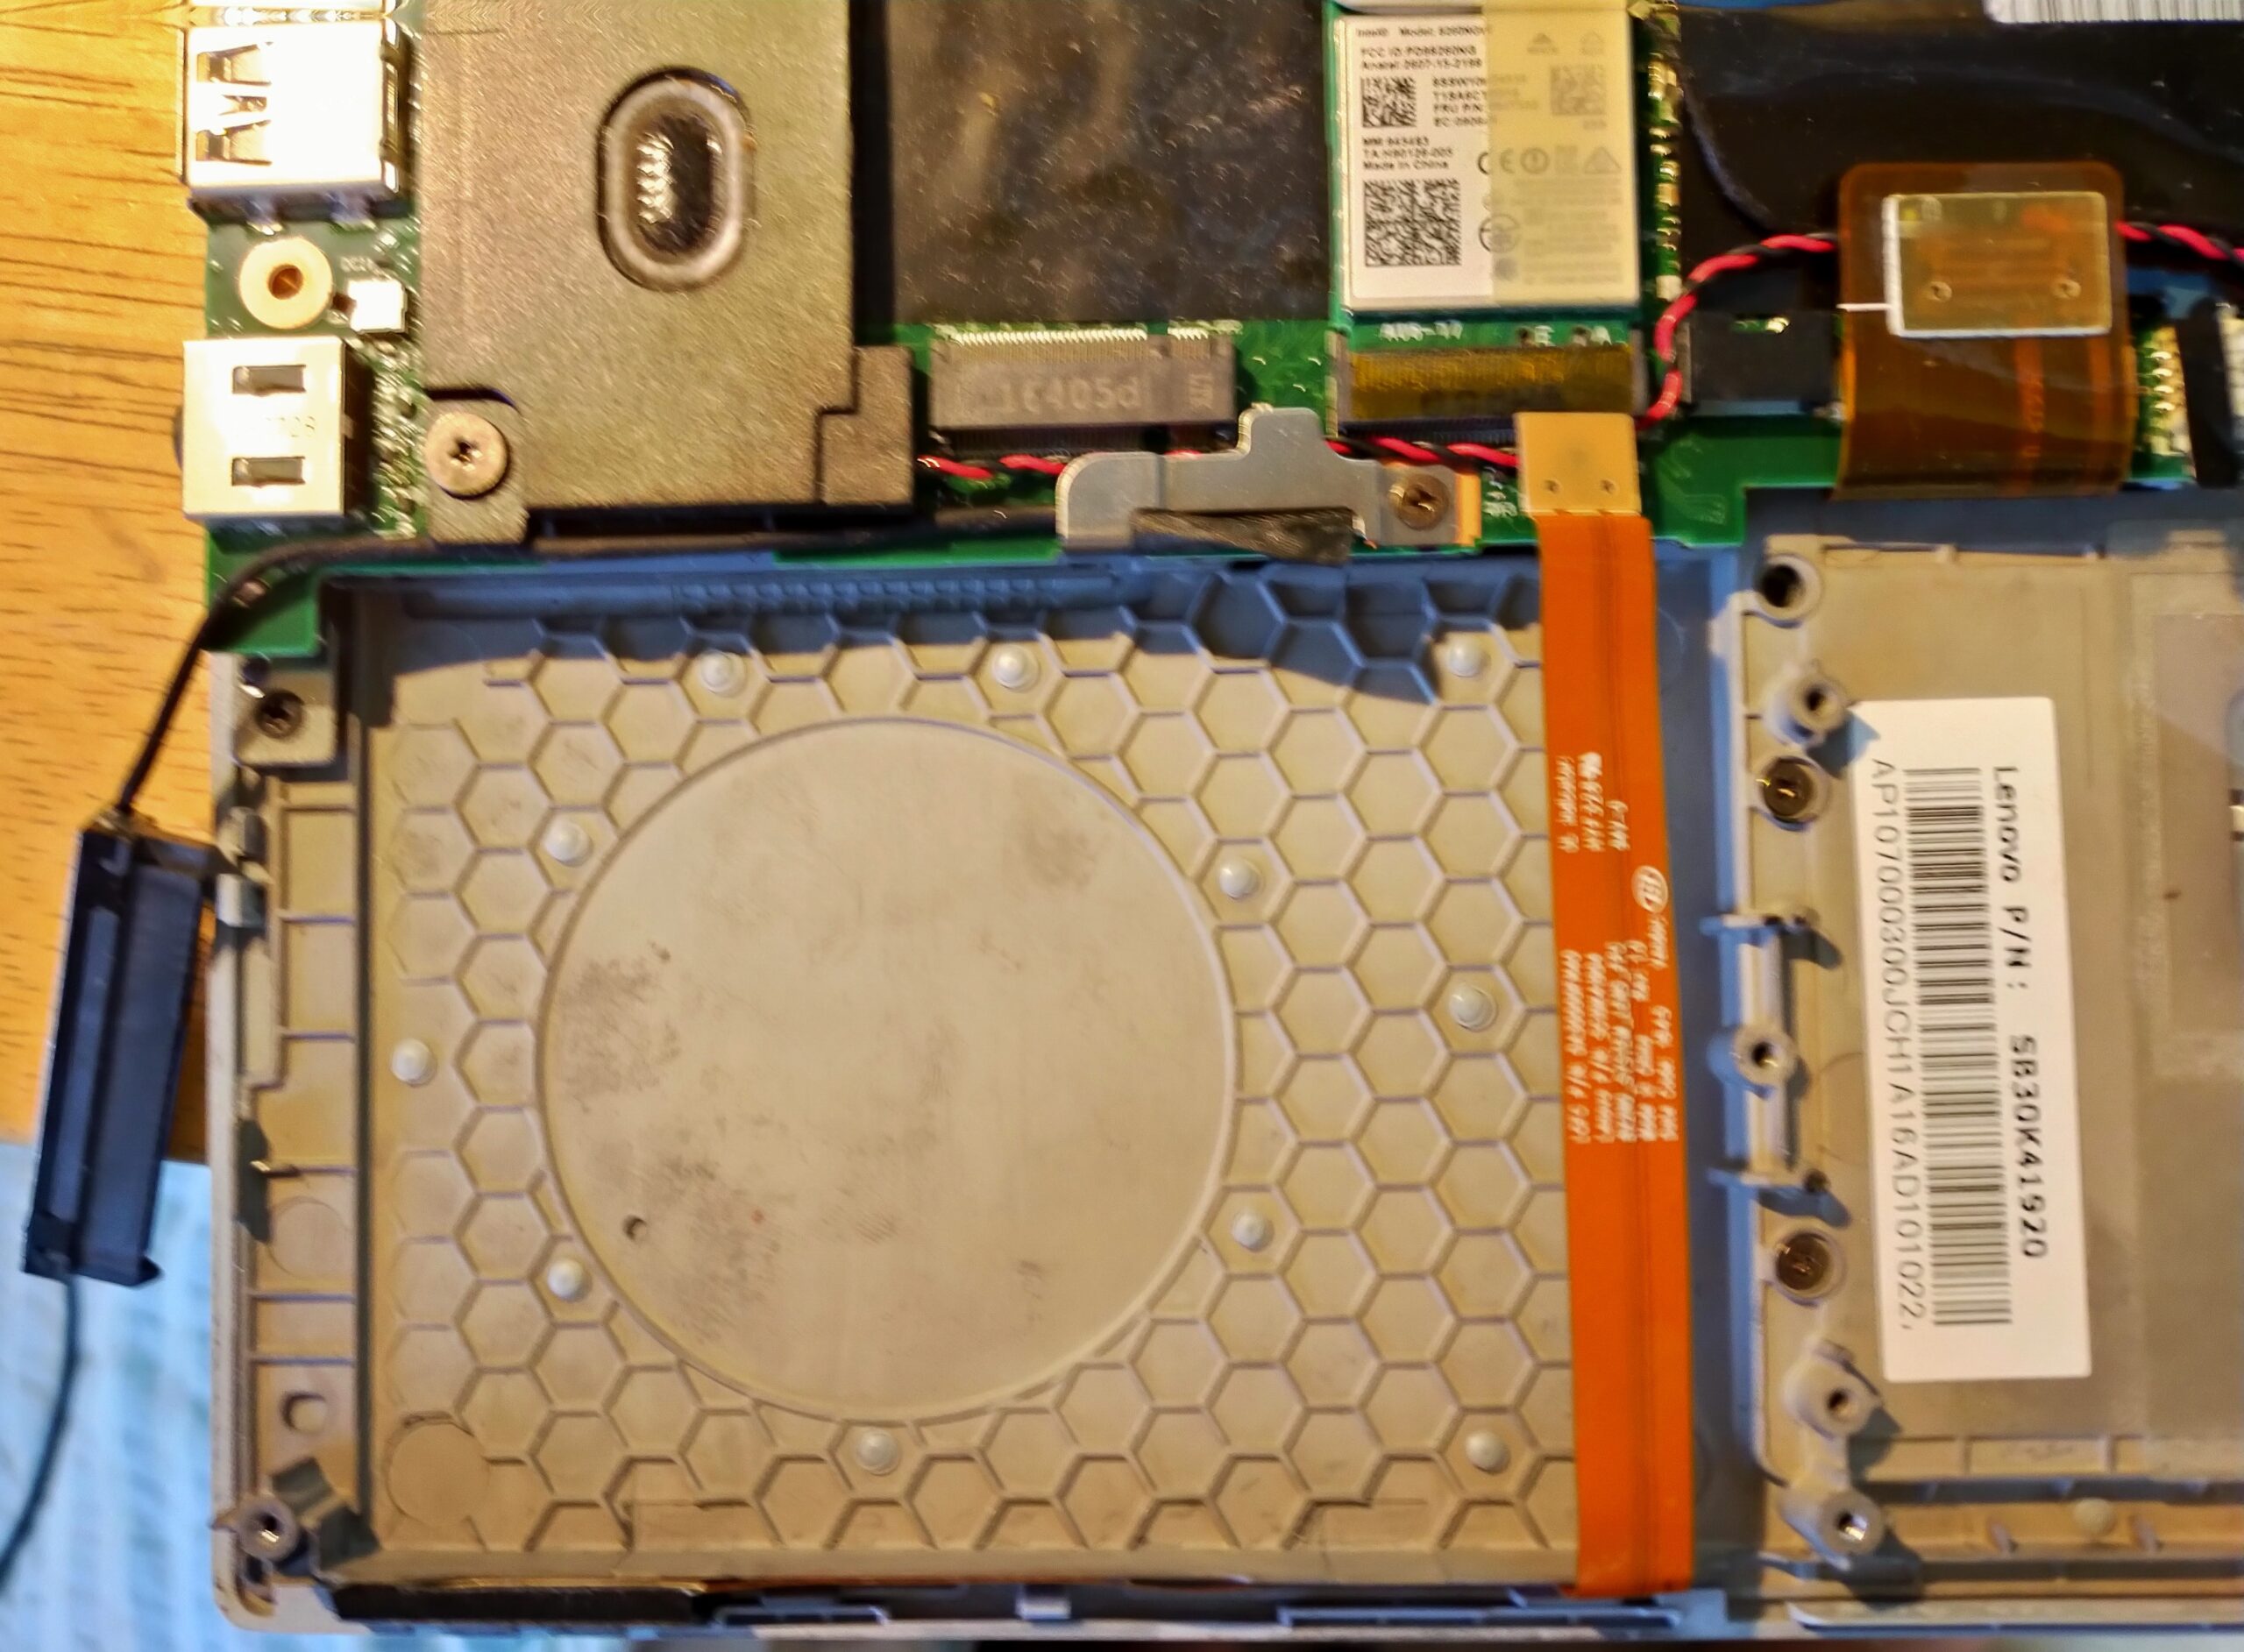
裏返して、バッテリーを外します。拡張部分のへのアクセスはあまり良くなく、底面全体を外さないといけませんでした。
Turn it over and remove the battery. Access to the extension was not very good and I had to remove the entire bottom surface.

中は案外すかすかでした。トラックパッドにLenovoって書いてあります(笑う)。左下がHDDです。ネジ一本で筐体と止めてあり、柔らかいプラスチックがHDD側面を覆い、小さな凸部分がHDDのネジ穴にハマるという、アクセスの良さです。
The inside was unexpectedly faint. ”Lenovo” is written on the trackpad (laughs). The lower left is the HDD. It is easy to access because it is fixed to the housing with a single screw, soft plastic covers the sides of the HDD, and a small protrusion fits into the HDD screw hole.
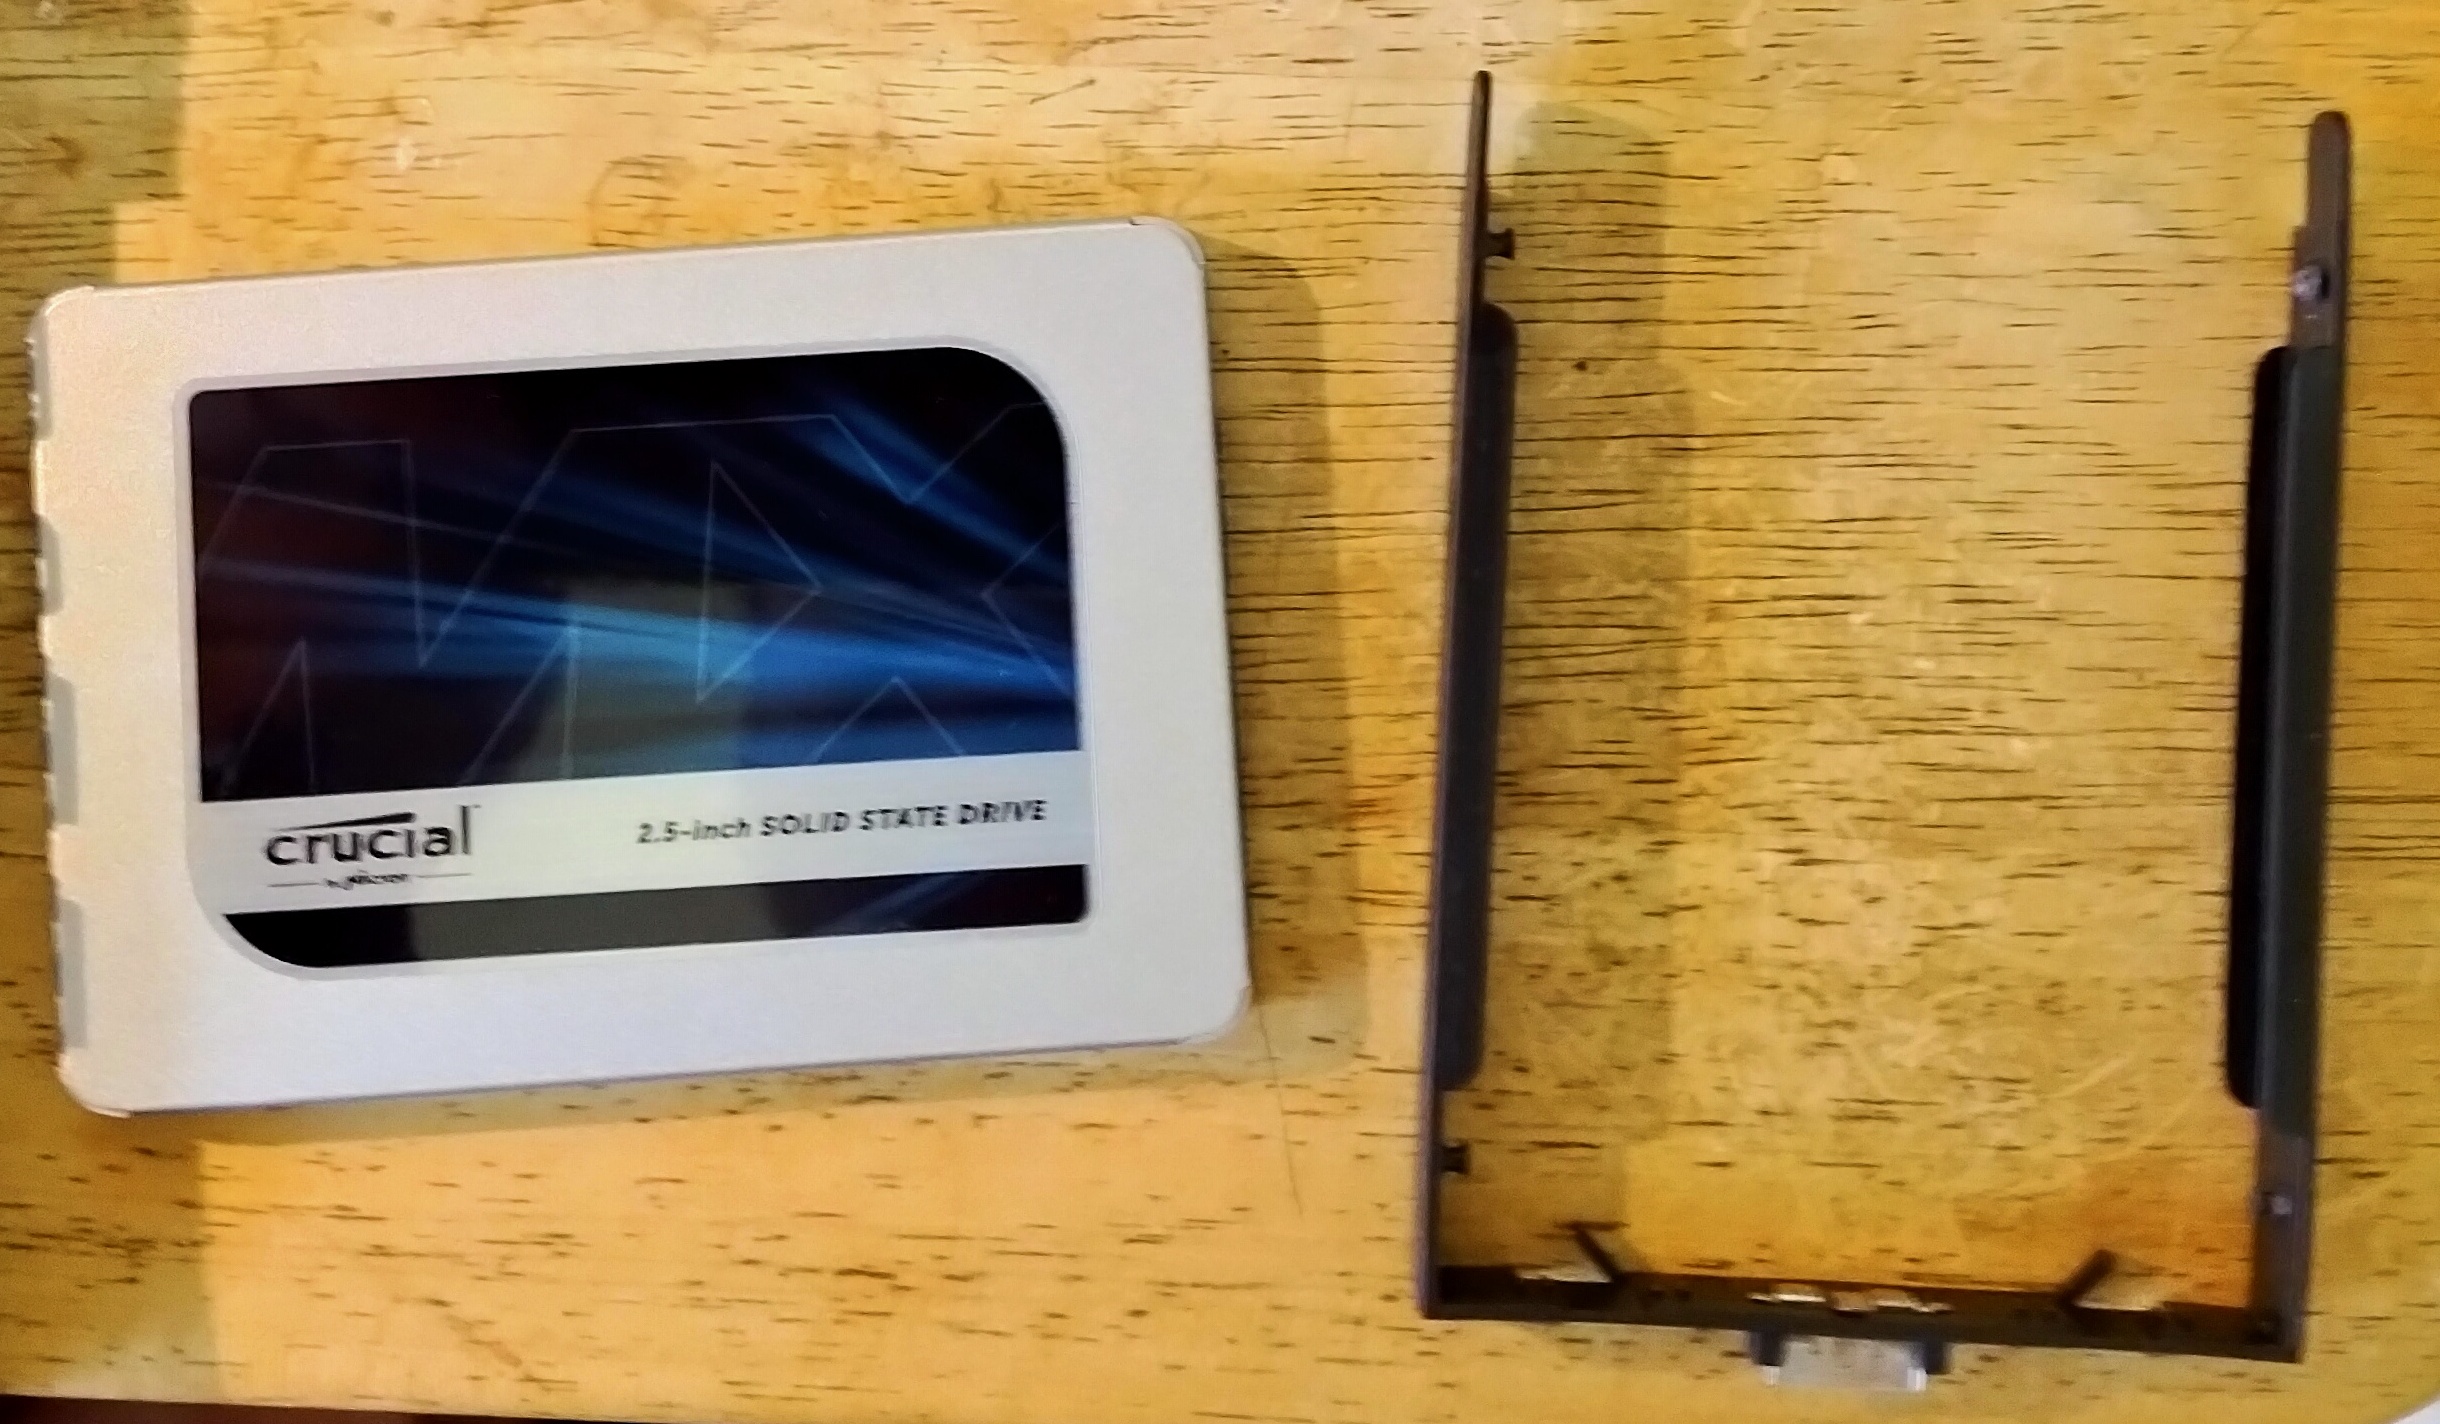
右が、SSDを固定する補助具です。はめ込むだけという簡単さです。
The right is an auxiliary tool to fix the SSD. It’s easy to fit it in.
SSDをここにはめ込んで、コネクターを挿し、右にある1つのネジで止めます。
Insert the SSD here, insert the connector, and secure it with the one screw on the right side.
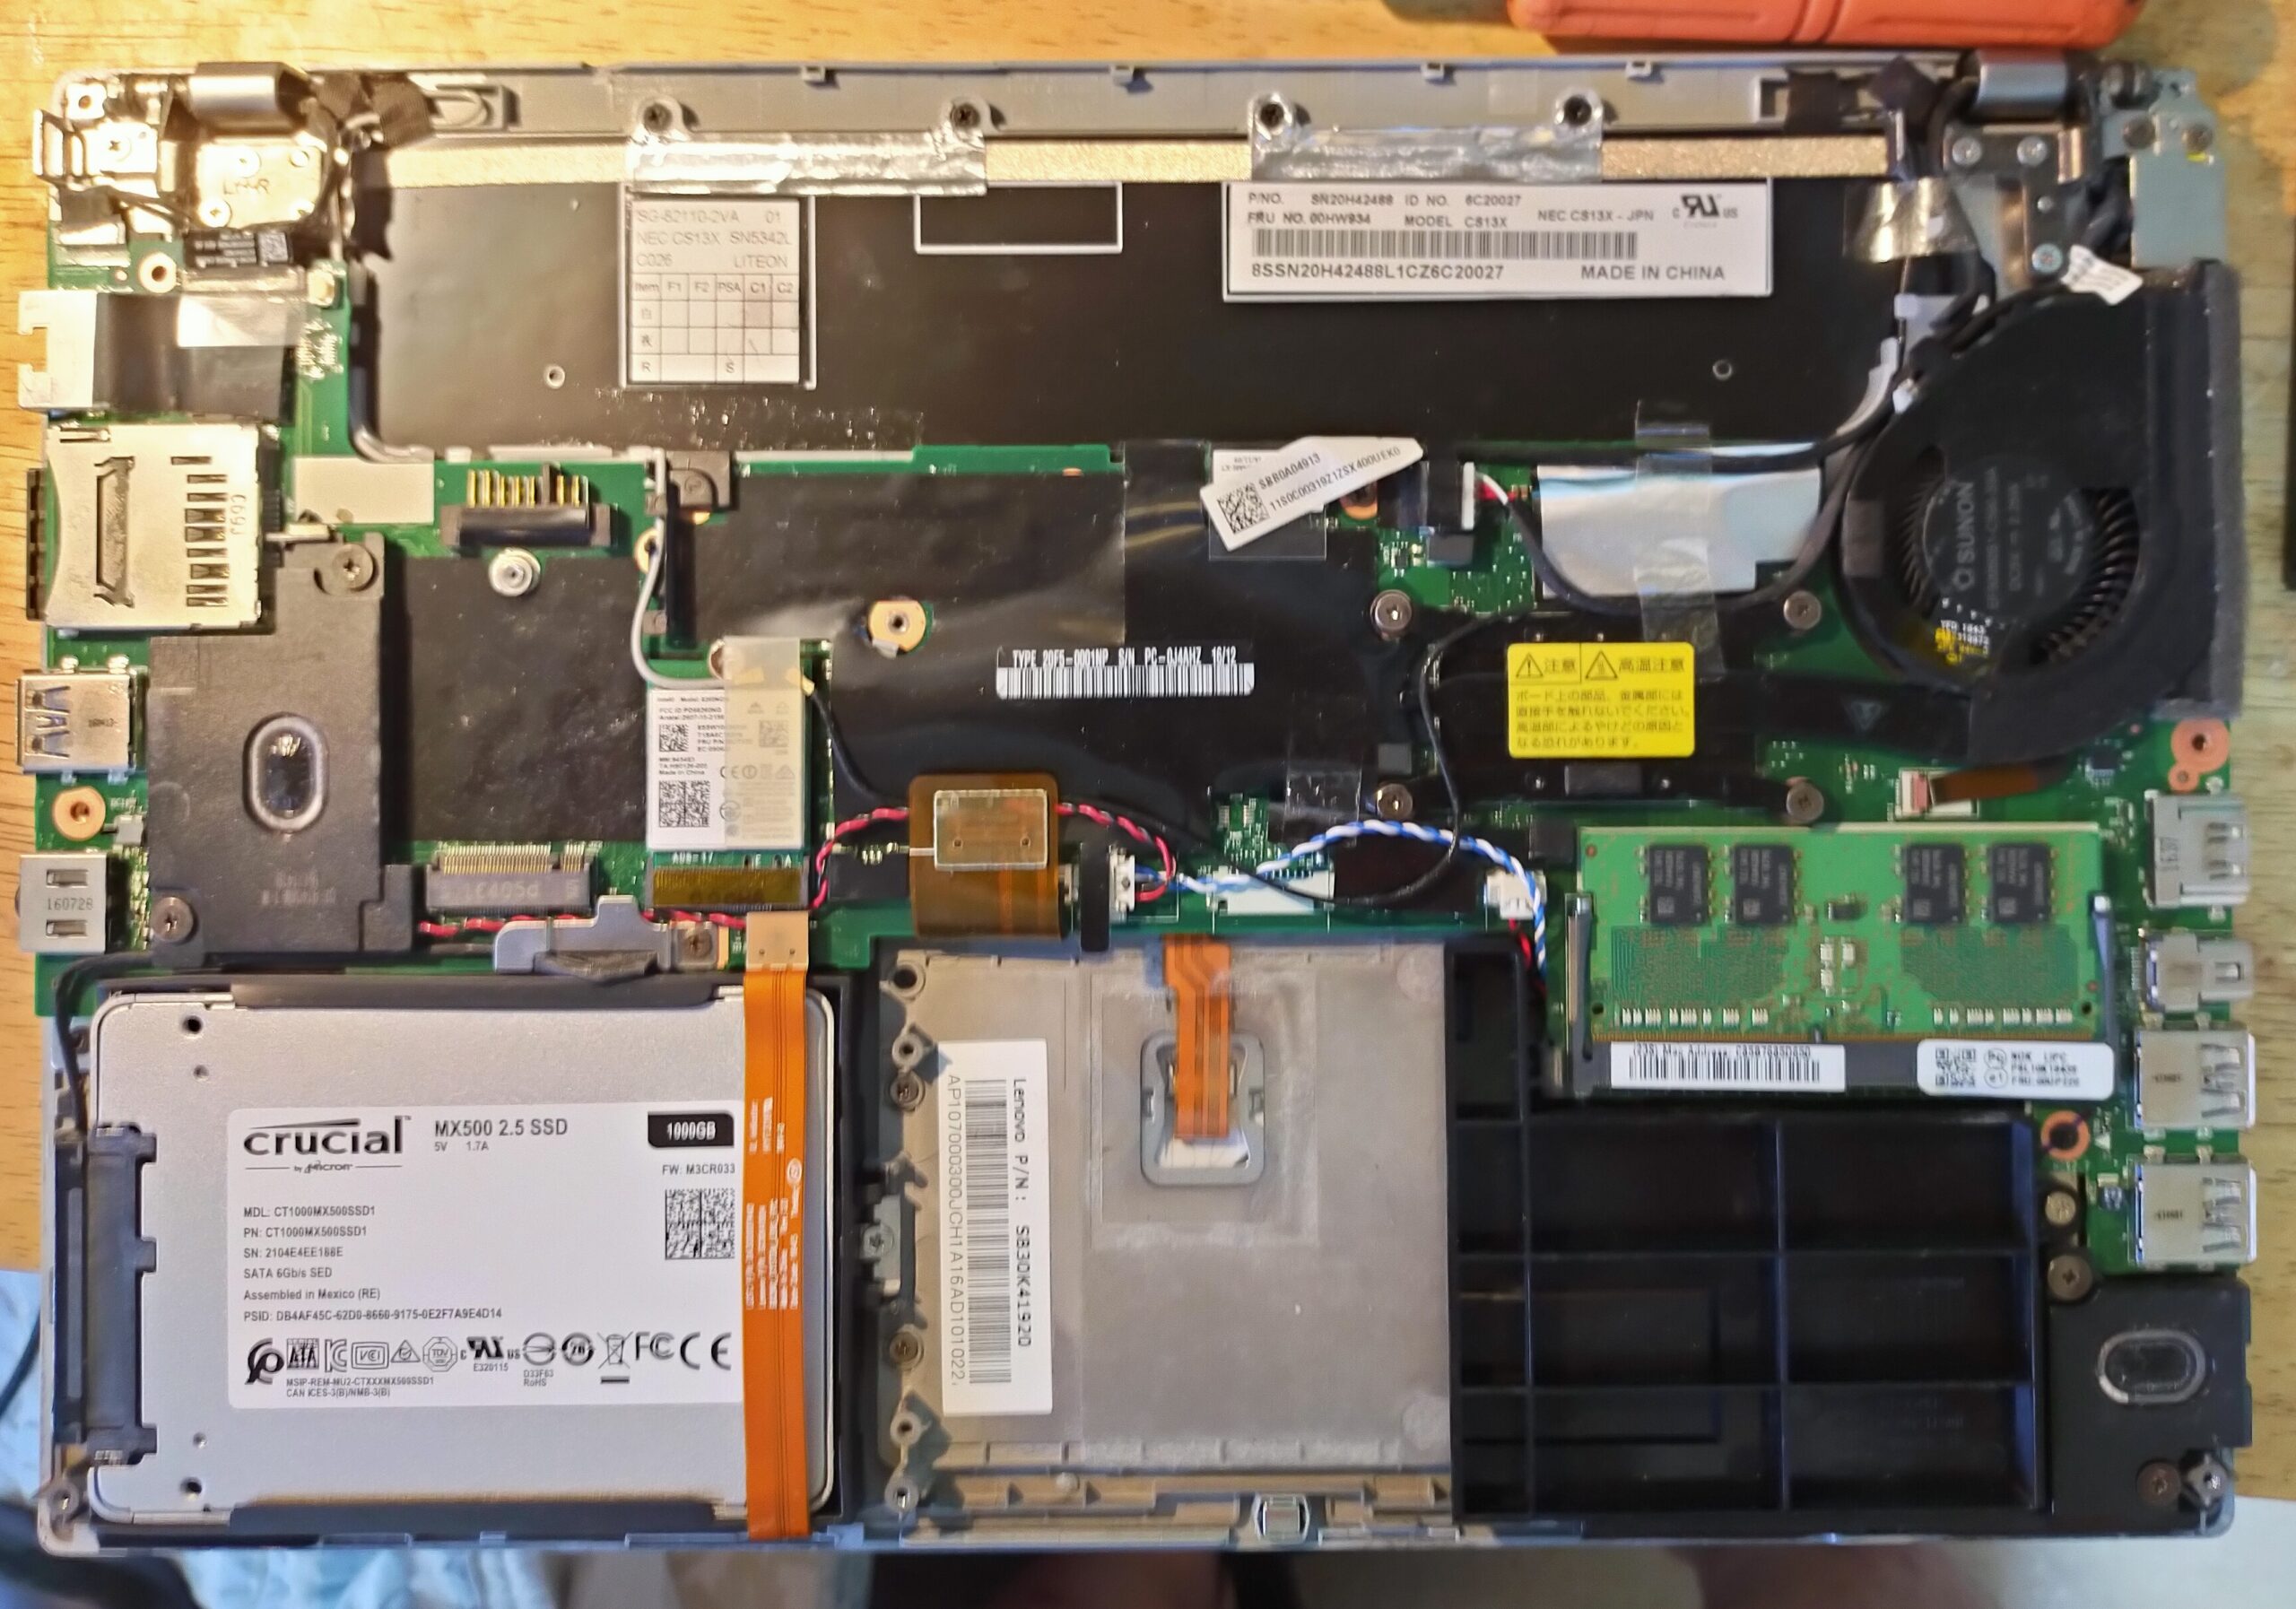
とても簡単でした。It was very easy.
きちんとSSDを認識しました。The laptop has recognized the SSD properly.
さて、次は1つだけのSSD内部ドライブに、どうやって、mac-OS Big SurとWIndows10 Proを入れるかです。
Now, the next step is how to put mac-OS Big Sur and Windows 10 Pro in only one SSD internal drive.
方法としては、macの方が、ディスクユーティリティーを使うため(パーティショナーでないため)、まずGUID、APFSで500GBにパーティションを作って、Windows側はとりあえず後ろの部分でex-Fatにしておきます。
As a method, since mac uses the disk utility (because it is not disk partition software), first create a partition with GUID and APFS to 500GB, and on the Windows side, set it to ex-Fat in the back part for the time being.
(はじめに判っていればよかったんですが)TimeMachineを作るにはパーティションがいることと、自分のデータはすべてファイルサーバに保存しているので、前側のmac用の500GBを250GB、250GBをBig SurとTimeMachine用にします。TimeMachineにとって容量的に少ないですが、一応あれば何かあったとき再インストール時に移行ツールを使ってもとに戻せます。
(I wish I knew it at the beginning) Since I need a partition to make Time Machine and I store all my data on the file server, I devide the first parts of 500GB partition for mac to 250GB + 250GB into two parts.
And use for Big Sur and Time Machine, respectively. It’s small for Time Machine, but if something goes wrong, I can get it back using a migration tool during reinstallation.
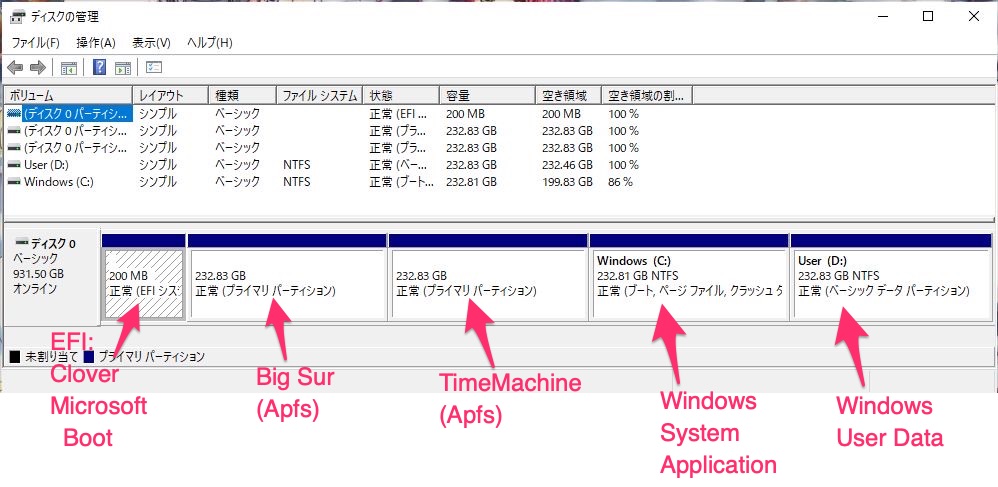
SSDのパーティションの様子は以下のとおりです。
The SSD partition placement is as follows:
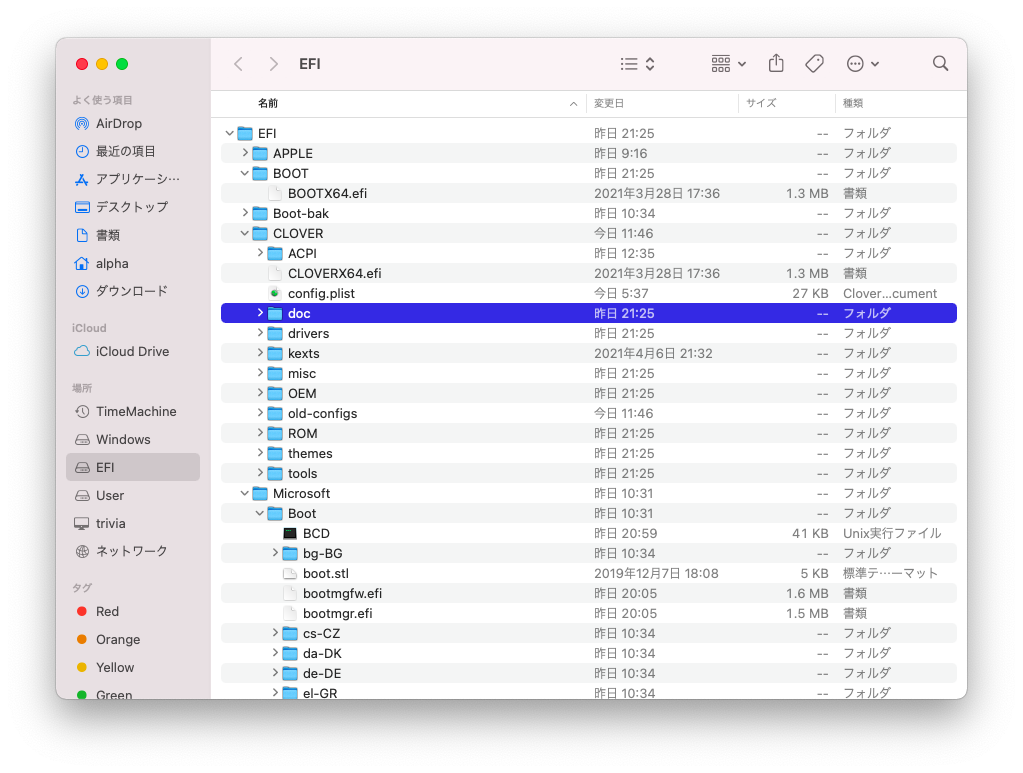
EFIの構造は以下のように配置します。(くれぐれもWindows関係を壊さない用に、頻繁にバックアップを取るといいと思います)
The structure of EFI is arranged as follows. (I think it’s a good idea to back up frequently so as not to destroy the file structure related to Windows.)
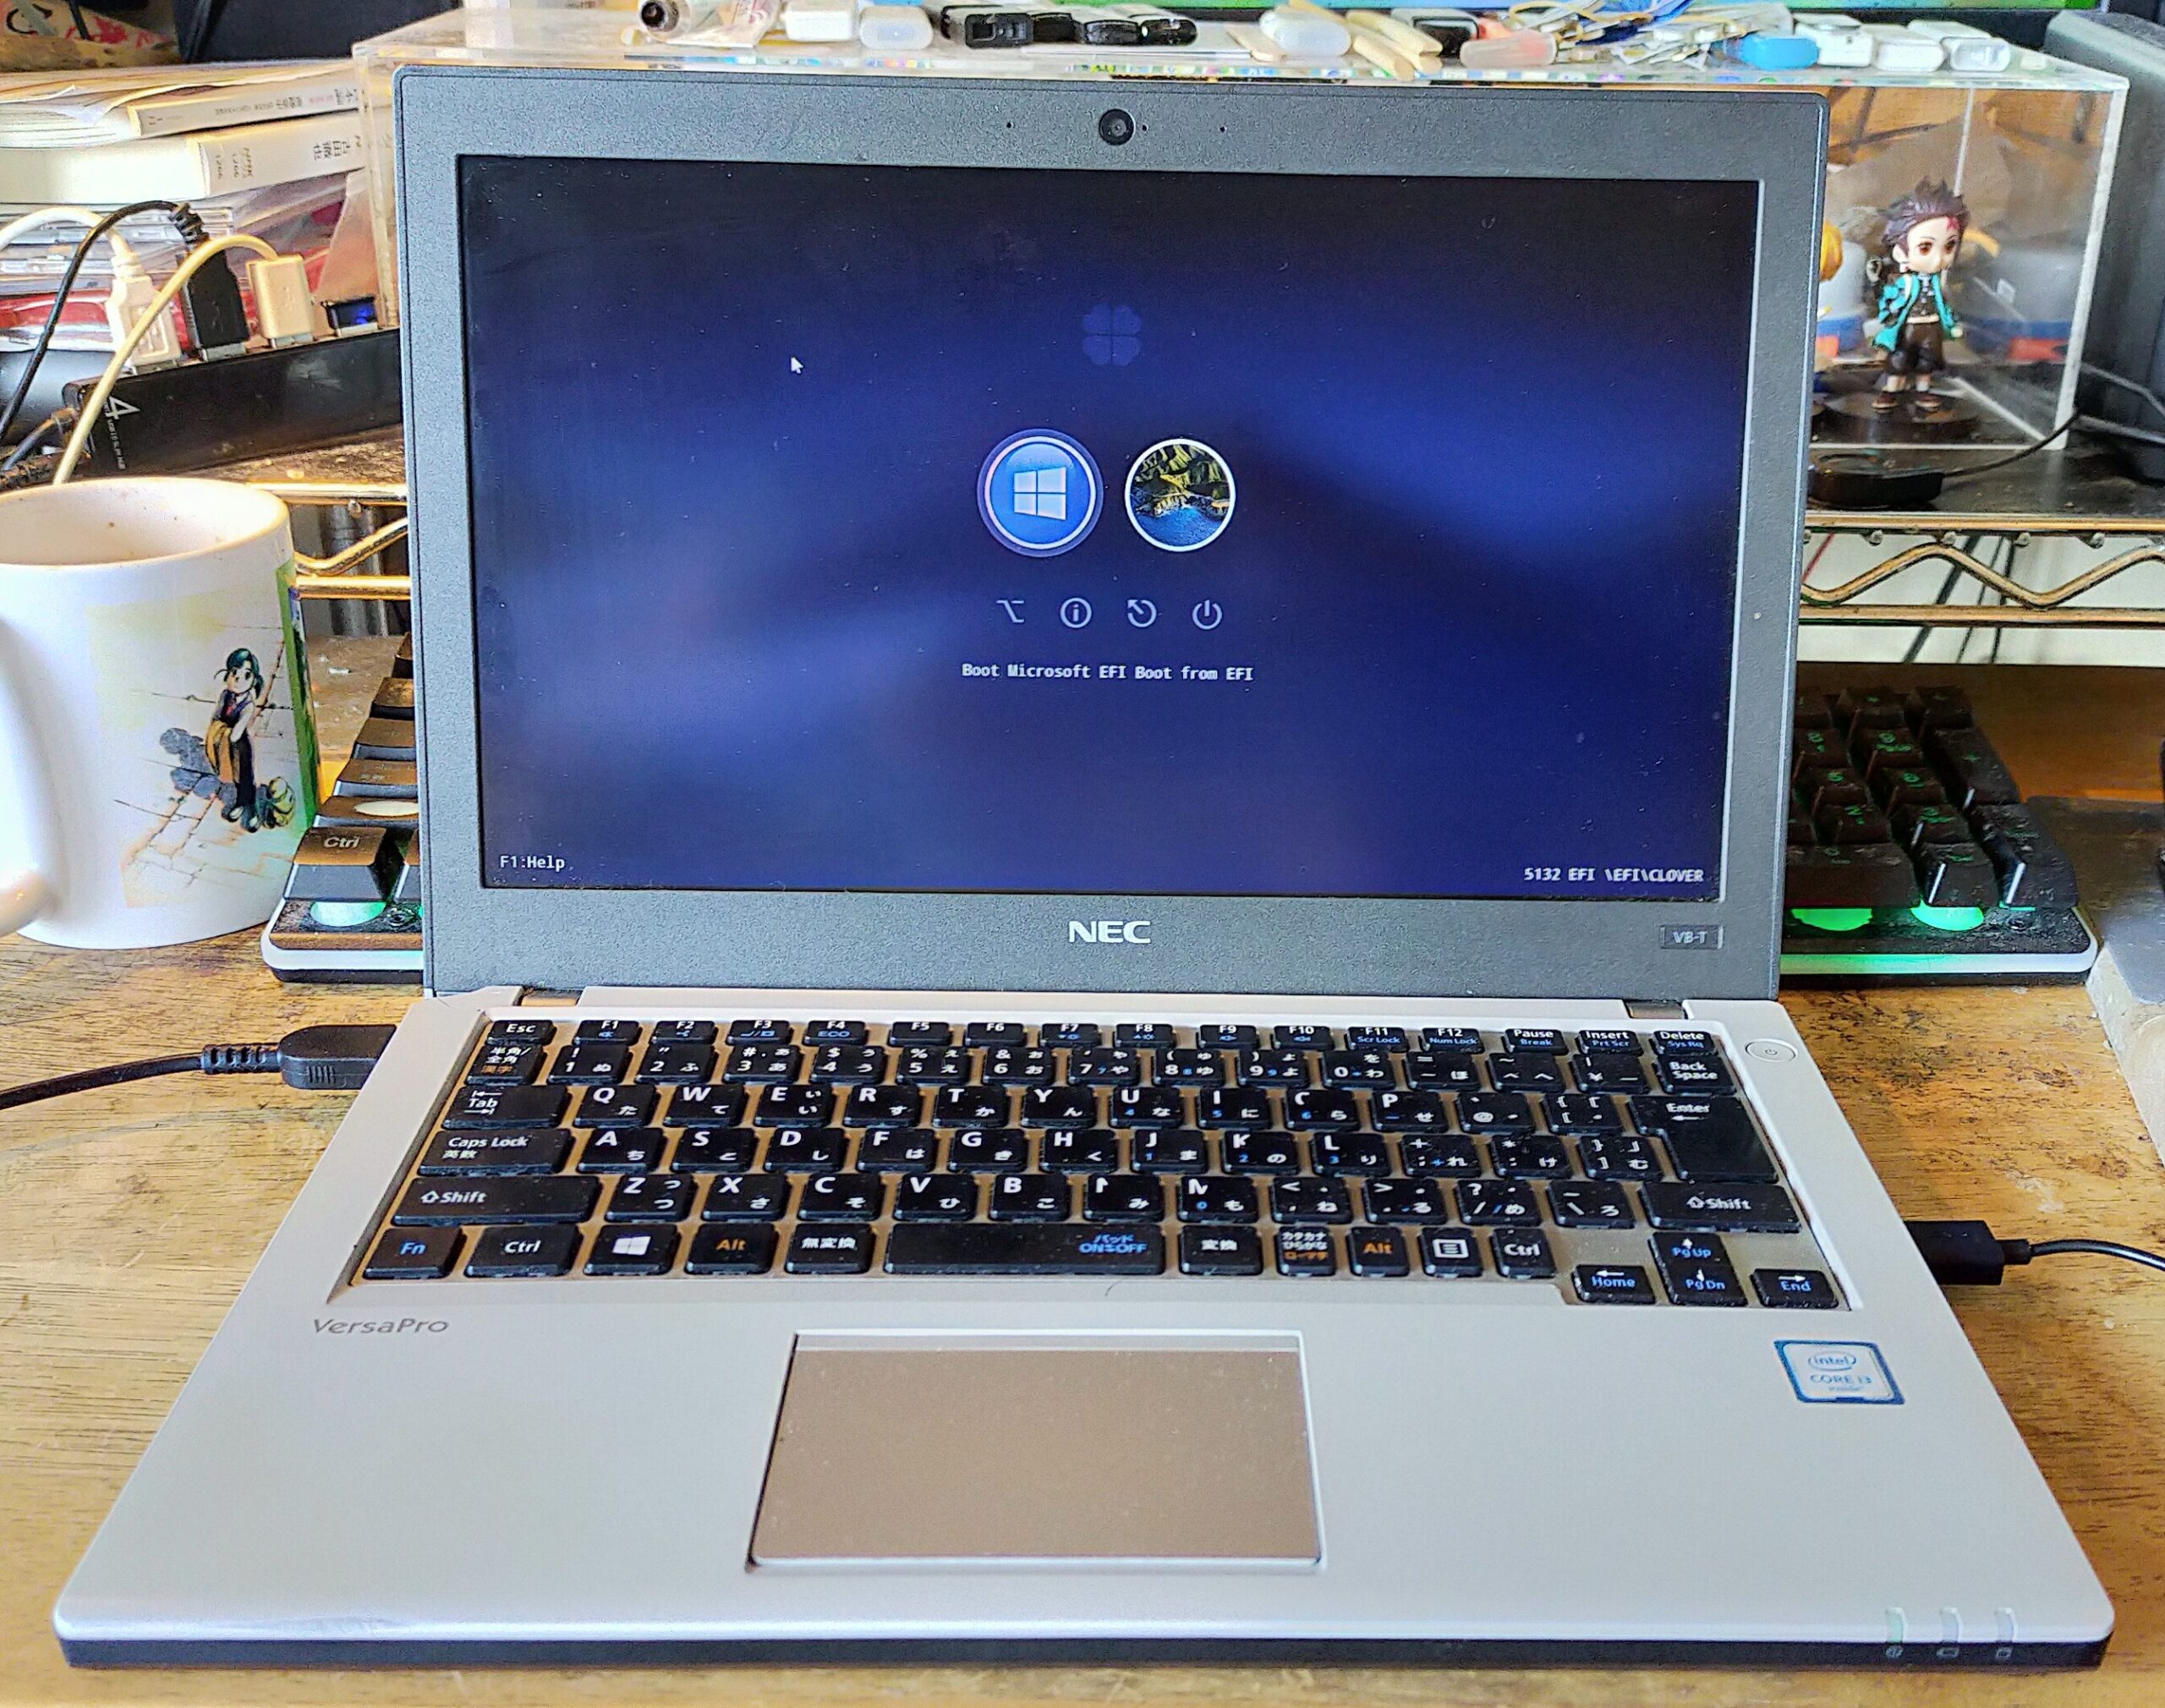
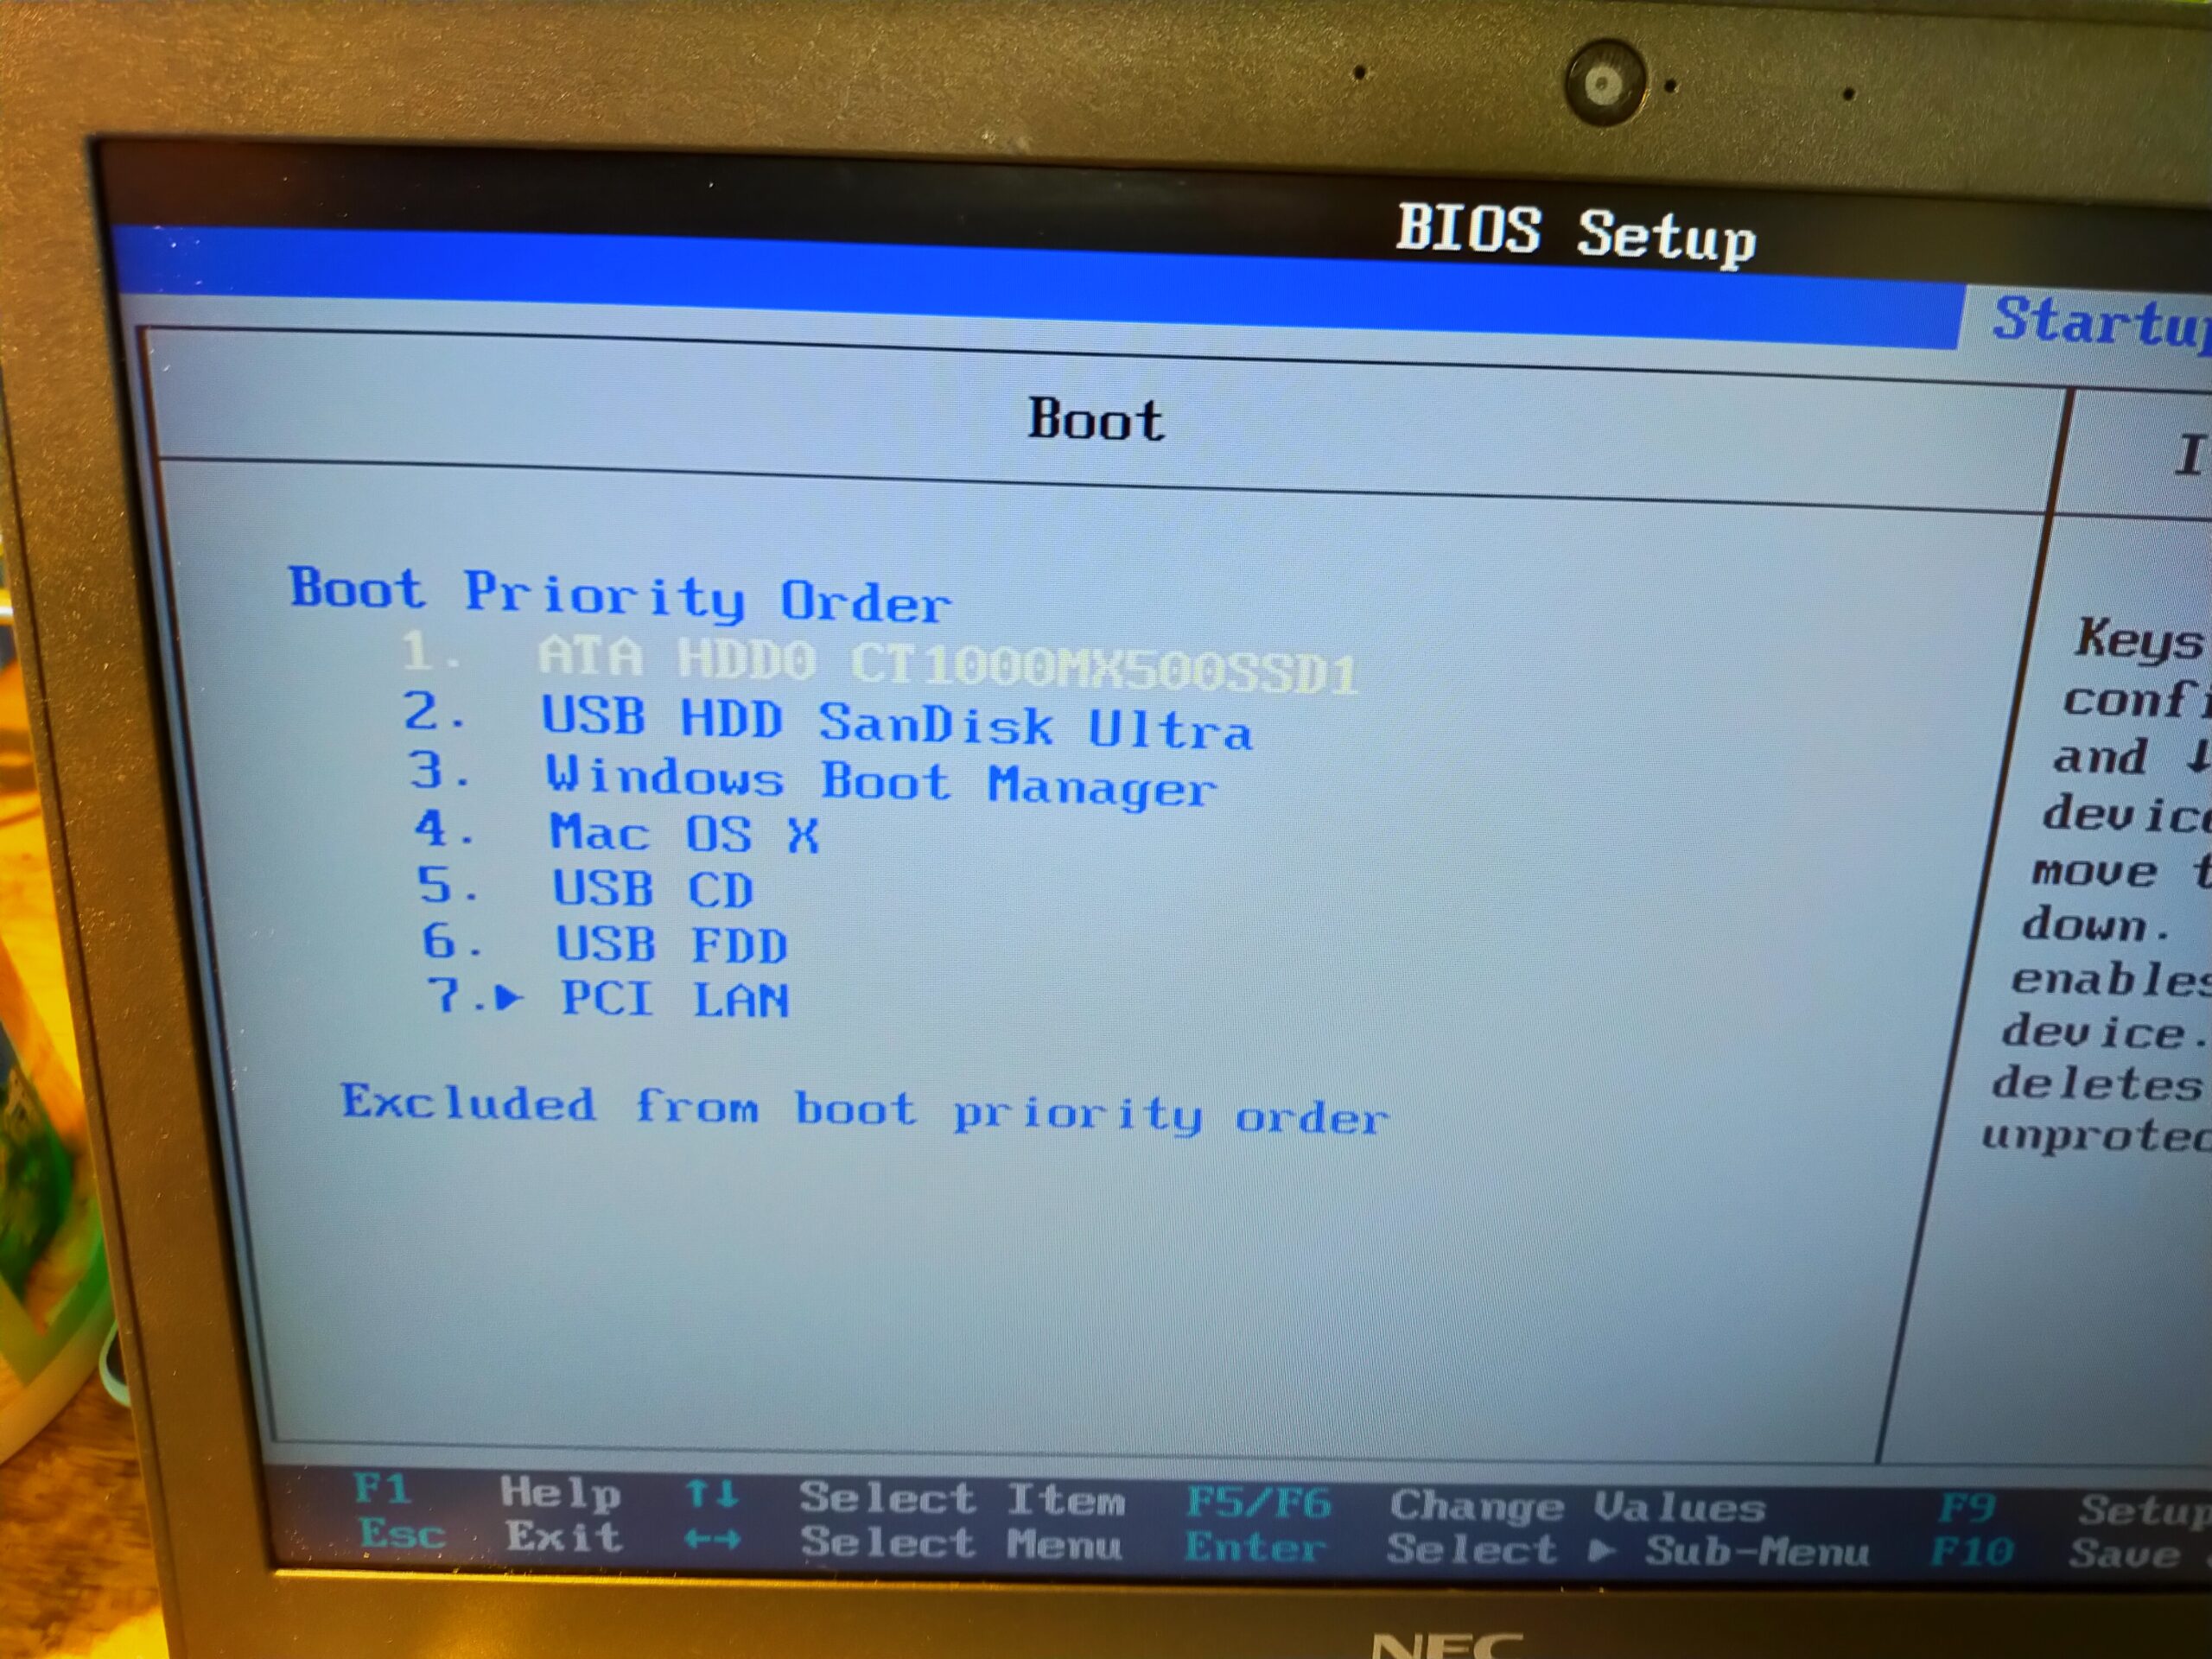
同じDiskのEFIにあって、ブートエントリが出るかというと、Cloverなら出るんです。こんな真似は、OpenCoreでは手間がかかるのでしません。Cloverならではの利用法ですね。
When asked, “Do you see boot entries for two OSs when they are in EFI on the same disk?”, Clover can do that. OpenCore takes time and effort, so it’s tedious and I don’t want to do it. This is Clover’s unique technique.
不具合があった場合に、このSSDのバックアップからレストアしたいです。しかし、Windowsとmac OS両方をバックアップするアプリはありません。
If something goes wrong, I would like to restore from this SSD backup. However, no app backs up both Windows and mac OS.
不明のファイルシステムの場合に原始的なUnixのdd(raw)モードを持っていて、全てを圧縮して、バックアップイメージをSambaファイルサーバに作ってくれるアプリがあります。
これをUSBスティックに入れ、ブートすることができます。
それはClonezillaです。
There is an app that has a primitive Unix dd (raw) mode for unknown filesystems, compresses everything and creates a backup image on the Samba fileserver.
You can put this in a USB stick and boot it.
It’s Clonezilla.
Windowsとmac OSの基本設定と基本ソフトのインストールを終えてから、Clonezillaでバックアップしたところ、バックアップファイルは、圧縮されて100G 以内のサイズで収まりました。
After completing the basic settings of Windows and mac OS and installing the basic software, when backing up with Clonezilla, the backup file was compressed and fit in a size of less than 100G.