Monterey12.3 beta1がきました。
alpha
Kawaiintu (neo Moebuntu)(旧Hackintosh夢日記)
2.Hackintoshの歩き方(2) ハードウェアとインストール(主にリンク集)
2.Walking the Hackintosh (2):How to make and install(Mainly a collection of links)
(1) ハードウェアの選び方
(1) How to choose hardware
ググればいくらでも出てきますので、ググり方の練習さえ分かっていれば問題ありません。コツとしては、intelMac本体が使っているものを選ぶことがみそというだけです。逆に特殊なマザーボードがあれば、話題になっているはずです。
いま一番おすすめの自作macOSパーツ構成 (2021年版)
Olarila Buyer’s Guide
Anti-Hackintosh Buyers Guide
You can find as many as you want by Googling, so as long as you know how to practice Googling, you’ll be fine. The only trick is to choose the one that the intelMac itself uses. On the other hand, if there is a special motherboard, it should be talked about.
いま一番おすすめの自作macOSパーツ構成 (2021年版)
Olarila Buyer’s Guide
Anti-Hackintosh Buyers Guide
ただ言えてるのは、同じものを買って、同じことをするのでは、新しい情報はなく誰の貢献にもなりません。一台は、楽に行くものを作って、もう1つは冒険してみる(そうして、みんなに知らせる)というのがいいスタイルだと思います。
噂からいえば、ASUSあたりのZ系チップセット、GPUをAMDのRX560~RX580等にすればかなり楽ができると噂されていますが、H系、B系でも情報はあります。特にマザーボードで問題が起こりやすいのはUSB周りと、iGPU周りの設定なので、ここを押さえておけばいいでしょう。
とくに難しいのはノートPCです(英語圏ではLaptopといいますので注意してください)。
ぱっと見、電源回り以外は動くようになる可能性が高いのですが、それから先への作りこみは、Rehubmanさんぐらいしか大きな頼りはありません。
[Guide] How to patch DSDT for working battery status
2013年から延々に続くものですし、Rehubmanさんも引退組といっていいことからいうと、検索に期待薄です。
概して見ればLenovo ThinkPadが多く話題に上ります。NECも参加なので、うまくいけば同等品のNEC製品で、同じACPIパッチが使える場合があります。
例: Only$80 Laptop Big Sur!! たった8000円のBigSurノートPC
All I can say is, if you buy the same thing and do the same thing, you won’t have any new information and won’t contribute to anyone. I think it’s a good style to make one unit that goes easy, and another one that is adventurous (and then let everyone know).
From the rumor mill, it is rumored that a Z-series chipset from ASUS and an AMD RX560-RX580 etc. GPU would be quite easy, but there is also information on H-series and B-series chipsets. The most common problems with motherboards are the USB and iGPU settings, so it’s a good idea to keep those in mind.
Notebooks are particularly difficult (note that in English-speaking countries they are called laptops).
At first glance, there is a good chance that you will be able to get everything working except for the power supply, but the only person you can rely on for further development is Rehubman.
[Guide] How to patch DSDT for working battery status
This has been going on since 2013, and given that Rehubman is retired, I don’t have much hope for the search.
In general, Lenovo ThinkPads get a lot of attention, but NEC is also participating, so hopefully the same ACPI patch can be used on an equivalent NEC product.
Example: Only$80 Laptop Big Sur! Big Sur laptop for only $80!
(2)インストール方法
(2) How to install
インスト―ル方も、ググれば多く出てくるので、紹介にとどめます。概略を言えば、一般的な方方はマザーとなるMac(VirtualMachineでもいい)から、
① OS本体のインストーラーをダウンロードする
② インストーラーからインストールUSBスティックを作る
③ EFI領域に、CloverかOpenCoreを入れて、起動できるようにする。
以上です。
There are many ways to install this software if you Google it, so I will only introduce it. If I say in outline, the general way is to download the installer from the Mac that becomes the mother (VirtualMachine is also fine).
① Download the installer for the OS itself.
② Create an installation USB stick from the installer.
③ Insert Clover or OpenCore into the EFI area to make it bootable.
That’s all.
① OS本体のインストーラーをダウンロードする
① Download the installer for the OS itself.
意外とこのことの内容について乗っている、Webpageがないので、紹介しておきます。
私が使いやすいと思ったのは、 / fetch-installer-pkg
です。
fetch-installer-pkgのWebページ上で、緑色のCodeを押し、Download zipでダウンロードします。
zipファイルを展開したら。そのディレクトリで、
% ./fetch-installer-pkg.py --seedprogram DeveloperSeedといれて起動し、お好きなインストーラーを数字で選択。インストールパッケージを得ます。(どうやら、IPv6でつながれば早いようなので、何度か試すといいかもしれません)
Surprisingly, there is no webpage about this, so I will introduce it here.
I found it easy to use.
/ fetch-installer-pkg
I found it easy to use.
On the fetch-installer-pkg web page, click on the green code and download the zip file.
Once the zip file is extracted. In that directory.
% ./fetch-installer-pkg.py --seedprogram DeveloperSeed Select the installer of your choice by number. You will get the installation package. (Apparently, it’s faster if you’re connected via IPv6, so you may want to try a few times.)
そしてここで得られたパッケージをインストールすると、/Applicationにインストーラーが置かれます。
And when you install the package obtained here, the installer will be placed in /Application.
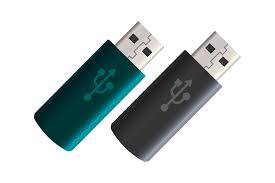
② インストーラーからインストールUSBスティックを作る
② Create an installation USB stick from the installer.
あまり難しくないので書いてしまいましょう。32GB程度のUSBメモリスティックを用意します。Mac(またはMac-VM)に刺し、ディスクユーティリティで、GTP-HFSで消去しましょう。この時名前は仮にUSBとします。
次に例えば以下のようにターミナルで打ちます。
sudo /Applications/Install\ macOS\ Big\ Sur.app/Contents/Resources/createinstallmedia --nointeraction --downloadassets --volume /Volumes/USB等とターミナルで打ちます。なにか長いので、めんどくさいと思いますが。zshの補完機能を使えばらくです。
sudo /Appli
まで打ち込んでTabキーを押しましょう。きっと
sudo /Applications
まで行くはずです。
同じように、追加でInstall打ち込んでTabを押せば自動補完されます。
createinstallmaediaまではそれで行けてしまいます。
あとは、どのインストーラでもオプションの指定方法は同じなので、上記の
--nointeraction --downloadassets --volume /Volumes/USB
をコピペすればいいんです。(ターミナルになれましょう。)
Prepare a about 32GB USB memory stick, stick it into your Mac (or Mac-VM), and use Disk Utility to erase it with GTP-HFS. The name of the stick should be USB.
Next, type the following in a terminal as an example
sudo /Applications/Install\ macOS\ Big\ Sur.app/Contents/Resources/createinstallmedia --nointeraction --downloadassets --volume /Volumes/USBand so on in the terminal. You can use the completion function of zsh to make it easier.
sudo /Appli
and press the Tab key. You will probably get
sudo /Applications
You should get to sudo /Applications.
Similarly, type Install and press Tab for auto-completion.
That will take you to createinstallmaedia.
The rest of the options are the same for all installers, so you can use the above
–nointeraction –downloadassets –volume /Volumes/USB
Copy and paste the above –nointeraction –downloadassets –volume /Volumes/USB (Get familiar with the terminal.)
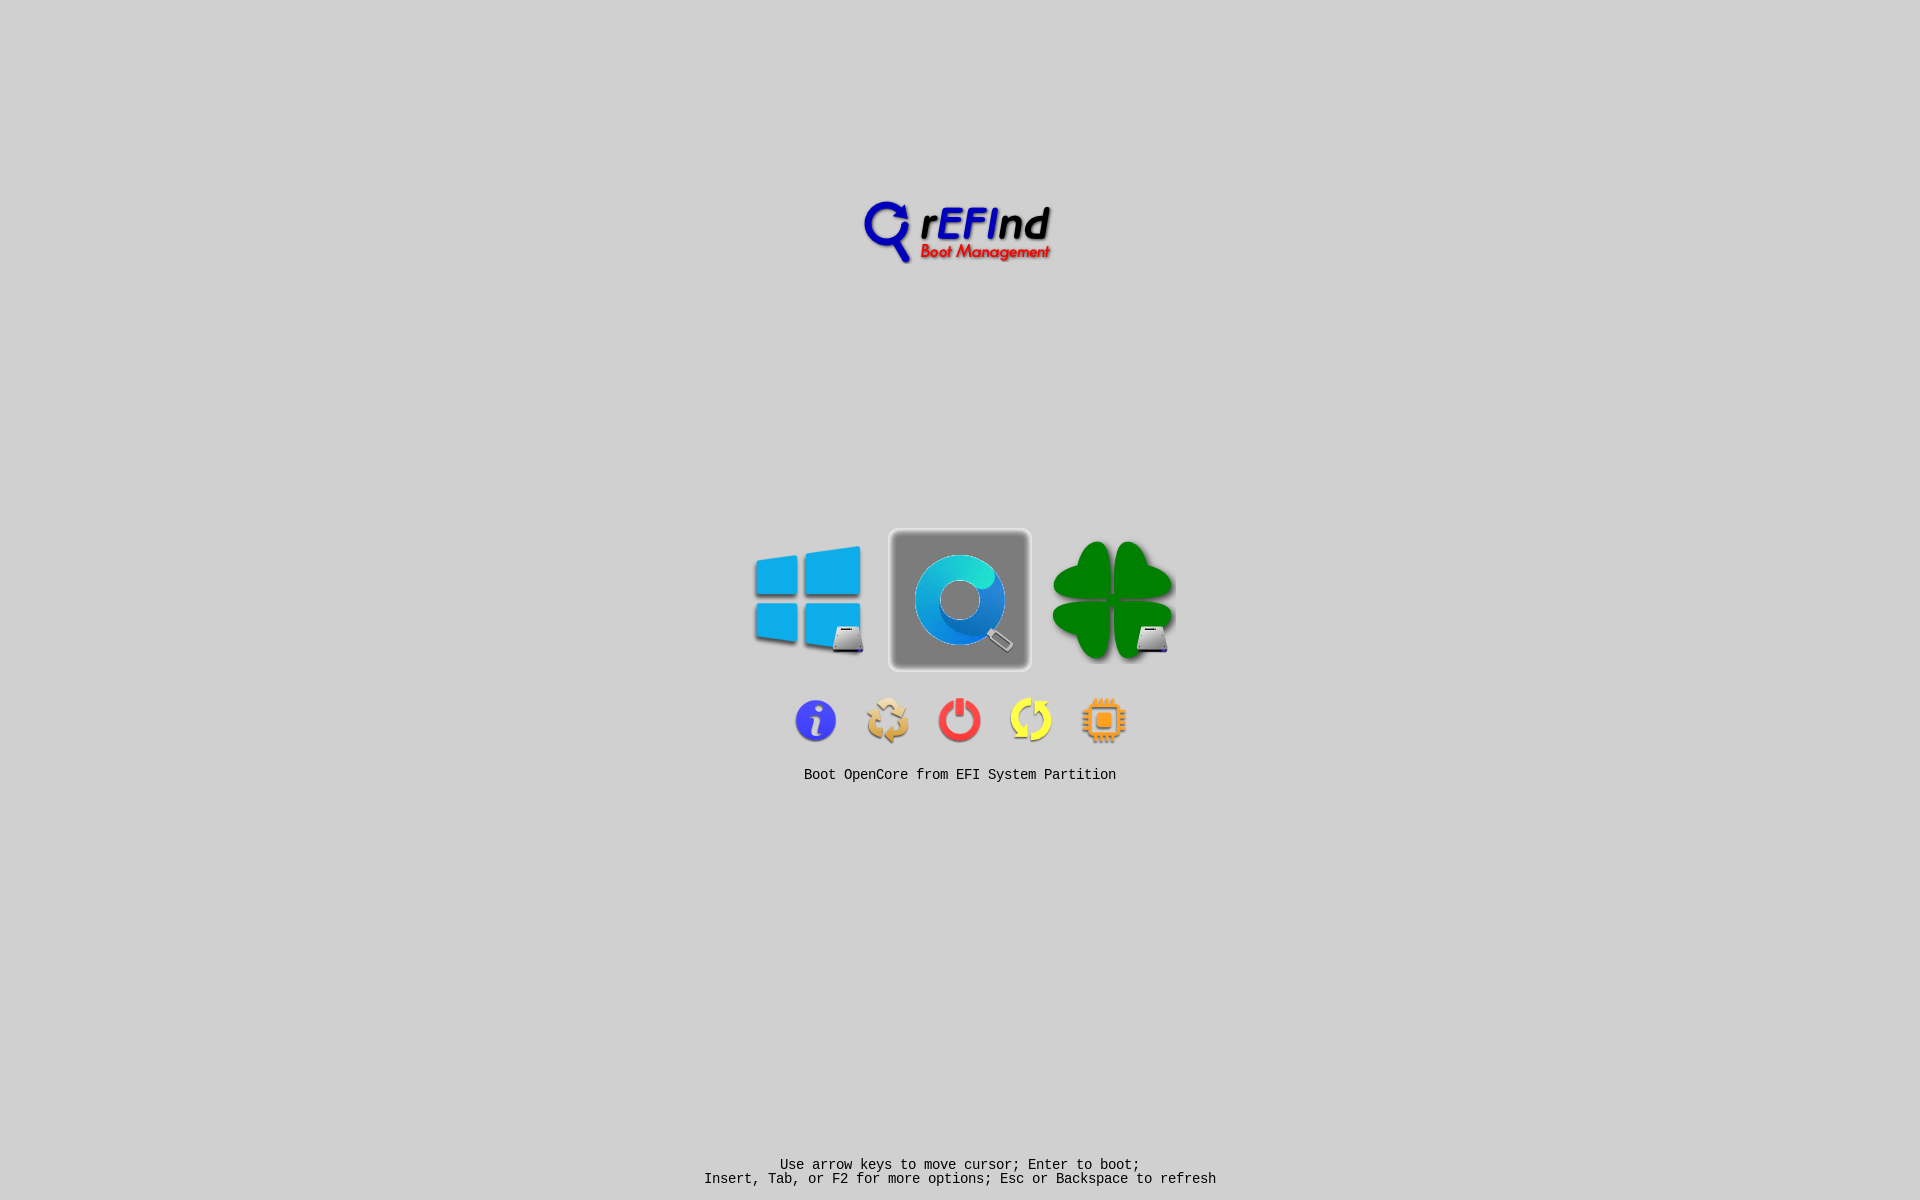
③ EFI領域に、CloverかOpenCoreを入れて、起動できるようにする。
③ Insert Clover or OpenCore into the EFI area to make it bootable.
まずは、インストールから起動できることを目指します。安定した結果を得ているのは。MaLd0nさんのものです。(かれはスーパーマンのごとくみんなのEFIを直してくれます)
https://www.olarila.com/files/
サインアップが必要かもしれません。Cloverはチップセットの系列で、OpenCoreはCPU名でジェネリックなもののようです。
また、AMDについては私は知識が少ないのですが、EFIのダウンロードやconfig.plistのダウンロード場所はあるようです。
Hackintosh EFI Download for Intel and AMD System
New Clover on AMD platform(OSX86.it)
EFIパーティションをマウントするのは面倒ですが、いちいちConfiguratorを入れるのも嫌なので、
Clover.app_v1.24.pkg
が地味に楽です、これって、実は簡易的なplistエディタまでついているのでお勧めです。
これを起動して、トップバーのクローバーマークをクリックすれば、マウントすべきEFIパーティションが出てきますので、選んでパスワードを入れるだけです。
こうやって開いたEFIのファインダーに、olarilaからとってきた、EFIを入れましょう。
First, we aim to be able to boot from the installation.(He fixes everyone’s EFI like Superman)
https://www.olarila.com/files/
You may need to sign up, Clover is the chipset family, OpenCore is the CPU name and they are GENERIC-Configrationed.
Also, I don’t have much knowledge about AMD, but there seems to be a place to download EFI or config.plist.
Hackintosh EFI Download for Intel and AMD System
New Clover on AMD platform(OSX86.it)
It’s a pain to mount the EFI partition, but I don’t want to put Configurator in every time.
Clover.app_v1.24.pkg
This is actually a simple plist editor, so I recommend it.
Just launch it and click on the clover symbol in the top bar to see the EFI partitions that should be mounted, select them and enter the password.
In the EFI finder opened in this way, put the EFI you took from olarila.
●BIOS設定と起動
●Configure and boot up the BIOS.
少し古いですが、一般に以下のように言われています。
https://bootmacos.com/archives/137 より
〇基本設定 最初は工場出荷状態:
大体は工場出荷状態で良いです。デフォルトにまずは設定します。最近のマザーボードは、以下の項目が大体デフォルトで設定されています。なので工場出荷時状態にするだけでmacOSが起動することが多いです。
〇SATAのモードはAHCIモード:最近は、AHCIモードがデフォルトだと思います。AHCIじゃ無いとデータが読めなくて起動しません。
〇HEPTはEnable。もしくは設定する項目があれば64bitモードに。
〇シリアルとパラレルI/OはDisable:macOS 10.11以前ではシリアルとパラレルのI/Oが有効だとカーネルパニックを起こして起動しないことがあります。そこで無効にします。10.12以降では有効でも起動します。でも、これらを使わないなら無効にした方が安全で効率的だと思います。
〇USBのXHCI Hand-offはEnable
〇Windows関連の機能は全部Disable:デフォルトもDisableだと思いますが全部Disableにしておきます。Fast BootなどもDisable
〇CPUのIntel VT-D TechはDisable:これもEnableになっていると起動しません。ちなみにIntel Virtualization TechはEnableでも良いです。Enableになっていないと仮想マシンが動きません。
ということですが、おおむねシリアルをOFFに(いまはパラレルはふつうありません)、Intel Virtualization TechはEnableとすることでほぼ動くと思います。
It’s a bit old, but it’s commonly referred to as the following
From https://bootmacos.com/archives/137
〇 Basic settings Factory settings at first:.
For the most part, the factory settings are fine. Set the defaults first. Most modern motherboards have the following items set by default. So you can often boot macOS just by setting it to factory defaults.
〇 The SATA mode is AHCI mode: I think AHCI mode is the default mode these days, otherwise it won’t boot because it can’t read data.
〇 HEPT should be enabled, or set to 64bit mode if there is an option to set it.
〇 Disable Serial and Parallel I/O: In macOS 10.11 and earlier, if serial and parallel I/O is enabled, it may cause a kernel panic and the system will not boot. In 10.12 and later, they will boot even if enabled. But if you don’t use them, it’s safer and more efficient to disable them.
〇 USB XHCI Hand-off is Enable
〇 Disable all Windows-related functions: I think the default is Disable, but I’ll set it to Disable all functions, including Fast Boot.
〇 Disable Intel VT-D Tech on CPU: If this is also disabled, the system will not boot. Intel Virtualization Tech can be disabled, but if it is not enabled, the virtual machine will not run.
★ However, if you turn off serial (parallel is not usually used nowadays) and enable Intel Virtualization Tech, you can almost boot.
Related Youtube(ENG-SUB included)